
Carlin Peas
For an Earth Day win

It is Earth Day today and I always want to do something to mark it. This year as usual I have done a book giveaway on my Instagram grid, so if you don’t have either Modern Pressure Cooking or The Pressure Cooker Cookbook, head over there for a chance to win one.
Sustainability is one of the best reasons for using a pressure cooker. It is probably the most sustainable way to cook, especially if your heat source comes from renewable energy. Save yourself time, money, fuel, water - and help the planet. And if you are using it to cook sustainable products too, then it is a massive win win.
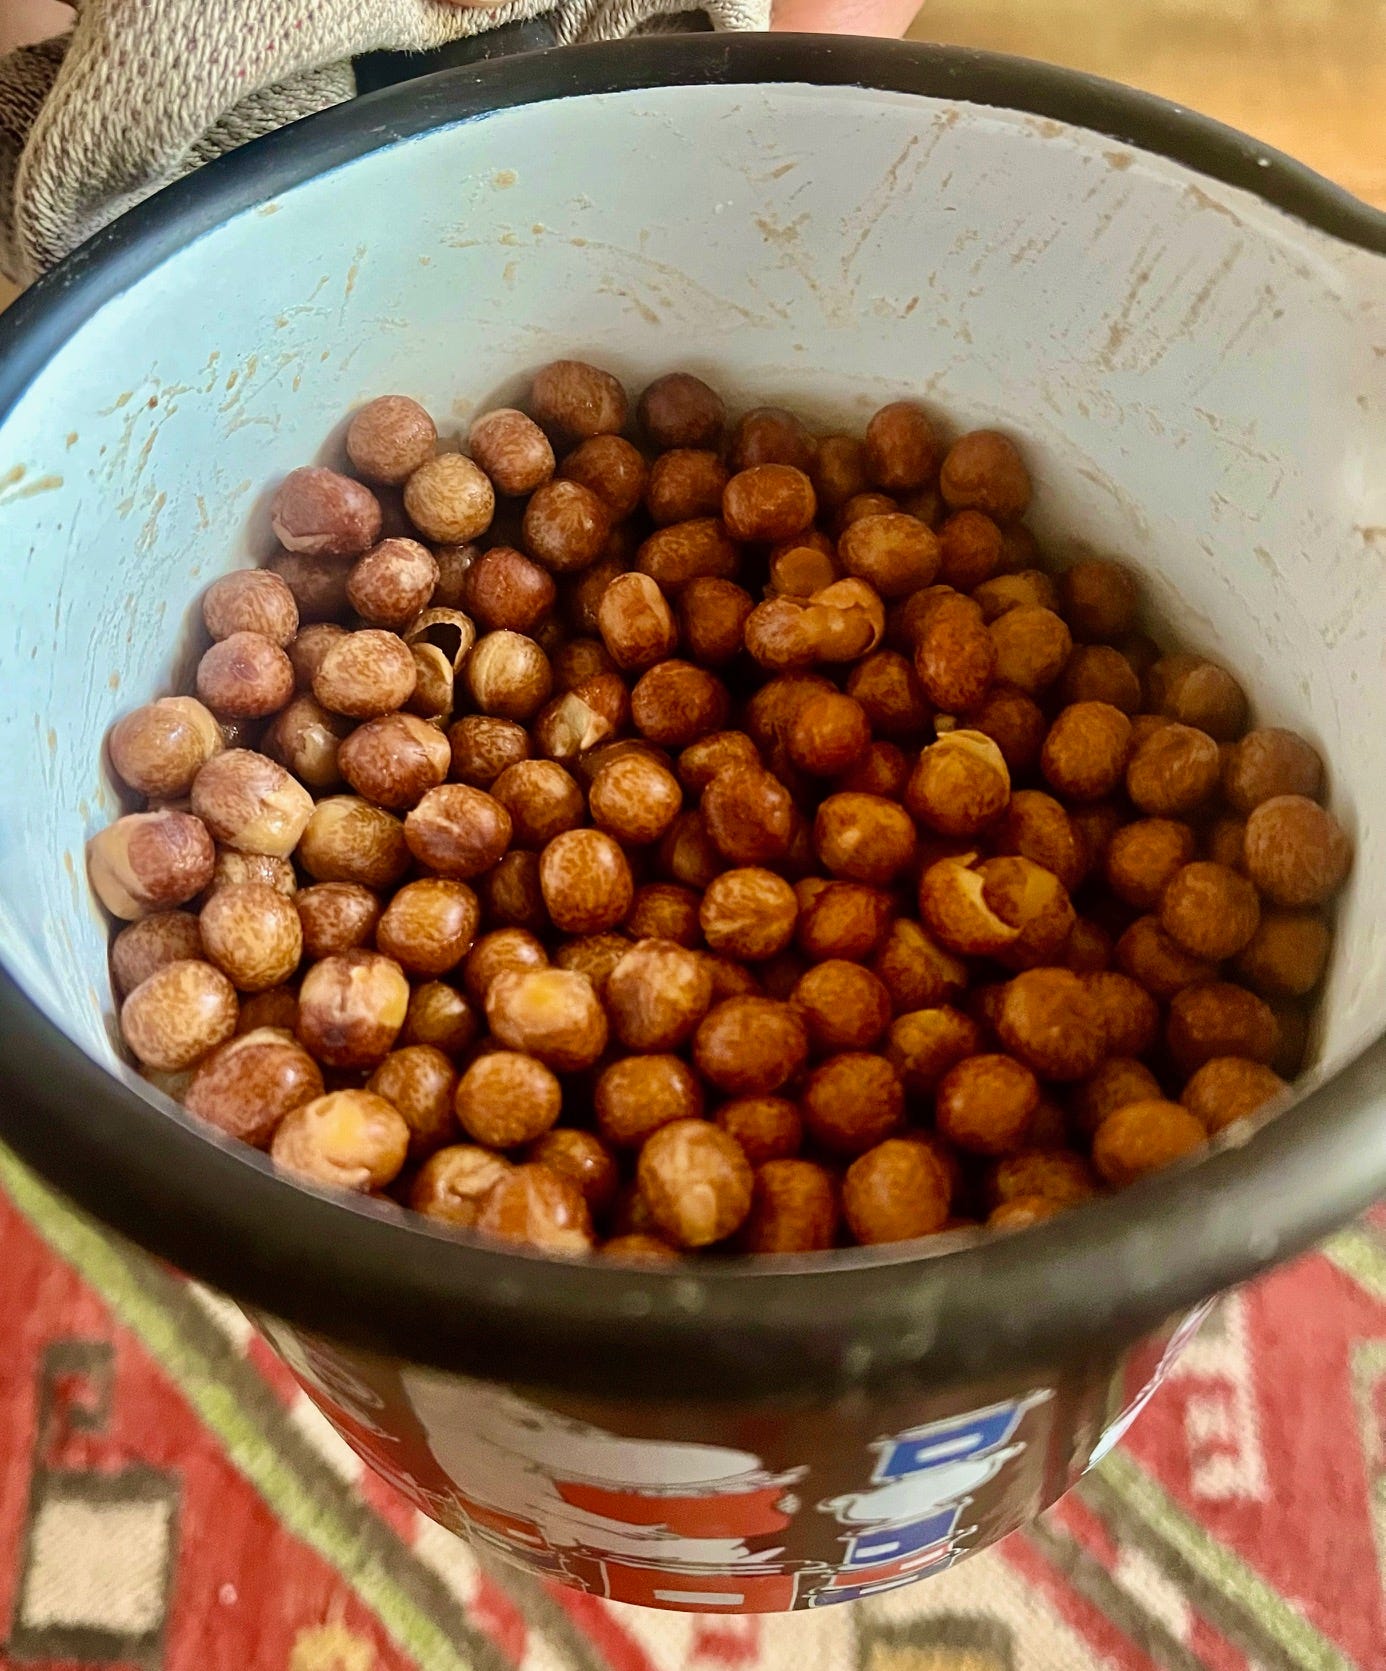
I think we all have different ideas about what makes a food sustainable or environmentally friendly. I, for example, am a big believer in regenerative/organic/ wild meat and dairy. This causes consternation in some quarters. But I think we could all agree that eating nitrogen fixing beans and pulses is generally a good thing, especially if they are locally grown by farmers who prefer to work with nature, rather than against it. We are seeing more varieties of beans and pulses being grown for food in the UK now, in part thanks to Hodmedods, a company I have mentioned before. Their range is expanding all the time. Favourite products of mine include the quinoa, especially the smoked one, and both varieties of carlin peas - the black badgers and the red foxes. For a while these products have not been widely available (although always on line), but now they have a range in Holland and Barrett which makes them much more accessible to those of us in the UK.
How to cook Carlin Peas
Carlin peas cook in exactly the same way as chickpeas and you can use them pretty much interchangeably. I actually prefer them - they are nuttier, not quite so green tasting (not sure if that is the right way to describe what I mean here, but it is the best I can do). Here’s what I said about cooking chickpeas a short while back so you can apply all of this to carlin peas:
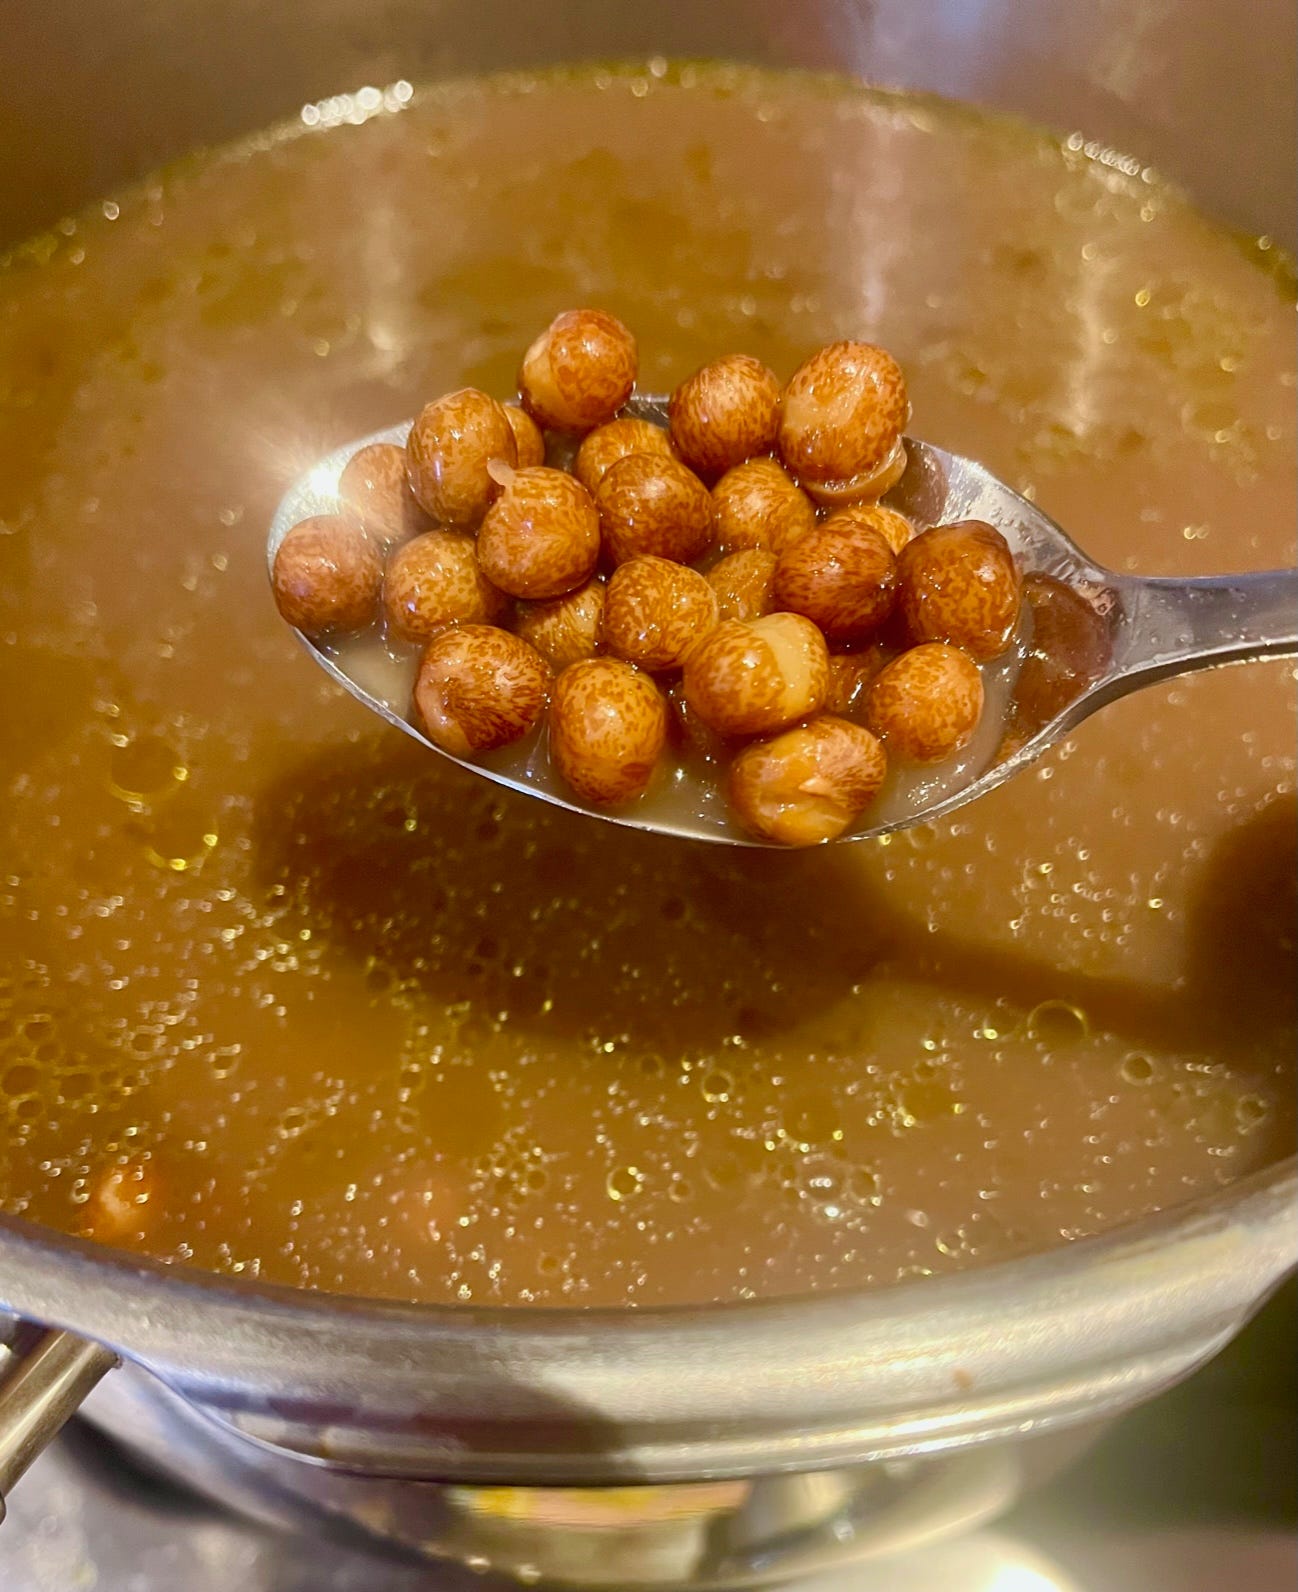
There are several ways you can cook them. With or without soaking (slow or quick soaked) and then cooked at high pressure for a longer time with minimal natural release or for a very short time then using the pressure cooker as a fuel-less slow cooker/haybox. My preferred method, for texture and for cost is to soak overnight in salted (1 tsp) water, stirring every time you walk past them. Then I change the water, add another tsp salt and a tablespoon of water and any aromatics which will add flavour but not impede how versatile I want the chickpeas to be. Garlic, whole cloves, is a safe bet, so is pepper, thyme, bay. The upside of this is that you have a lightly flavoured broth in the cooking liquor which you can use as a base for soup.
Close the lid and bring up to high pressure. Then either cook for 13 minutes at high pressure and leave to drop naturally for 10 minutes. Or cook for 2 minutes at high pressure, remove from the heat and leave to stand until the cooker has cooled down, but at least 45 minutes.
The volume of chickpeas you are left with depends on how much liquid they soak up. The batch I made to develop these recipes gave me 1350g. This is the equivalent of between 5-6 tins. So if you compare like with like (eg., a supermarket own brand tinned and dried), you are saving a fair amount in terms of money and packaging.
And what to do with them? Here are a couple of recipes:
Parched Peas
This is lifted from Modern Pressure Cooking. It is very traditionally British, served on Bonfire Night in the north of England, but I discovered recently that it is also and Easter Sunday tradition in some parts of the country too. I took them to a Bonfire party last November and everyone enjoyed trying them - found them quite as hard to stop eating as I did. I like them as a bar snack too. Of course, you can be inventive with what you add to them. Malt vinegar is traditional; I also like a mix of vinegar, lemon juice and zest and chilli. Or black vinegar and soy and orange. Or lime juice, vinegar and Tajin (a chilli/lime salt used for seasoning. I’m yet to meet anyone who doesn’t really love it). I am not giving quantities of any of these things because it is according to taste - taste and adjust, taste and adjust, always.
For parched peas:
500g cooked carlin peas
1 tbsp olive oil
Malt Vinegar
Plenty of salt and pepper
Drain the carlin peas and put into a saucepan or saute pan. Leave on a low heat to allow them to dry out a bit, then season generously with salt and pepper. Douse in malt vinegar and serve immediately with extra malt vinegar on the side.
Quick braised Carlin Peas with vegetables
This is the sort of thing I might make for a quick lunch, or to put in the thermos flasks or for a very lazy supper. Of course, the greens can be varied. I used sprouting broccoli and a courgette today because it is what I had. I might shred in kale or chard (no need to do the 2nd cook if so, add everything together). And you can use whatever herbs you like too. Today I used some winter savoury, which I love with beans, but I am just as likely to use thyme or rosemary.
I ramped up the garlic on this one, as I did what is likely to be my final wild garlic forage of the season at the weekend. So this had a bit of wilted wild garlic in it, as well as some fermented wild garlic and a few flowers too.
2 tbsp olive oil
1 onion, finely chopped
1 carrot, finely sliced
1 stick celery, sliced
2 cloves garlic, finely chopped
500g cooked carlin peas
2 tbsp tomato puree OR 2 tomatoes, pureed
1 tsp winter savoury
1 courgette, diced
300g sprouting broccoli
Optional extras:
a few wild garlic leaves, fermented wild garlic, lemon juice, soft goat’s curd or cheese
Heat your pressure cooker and add the olive oil. Saute the onion, carrot and celery for a couple of minutes, then stir in the garlic and carlin peas. Add a couple of ladlefuls of the cooking liquor or water or stock, then stir in the tomato puree or fresh tomatoes. Season with salt and pepper.
Close the lid and bring up to high pressure. Cook for 2 minutes and leave to drop pressure naturally. Stir and add another splash of water if it is looking at all dry - you don’t want it soupy, but you do want some liquid - then arrange the greens on top. Bring up to high pressure and immediately fast release.
Serve with any of the extras.
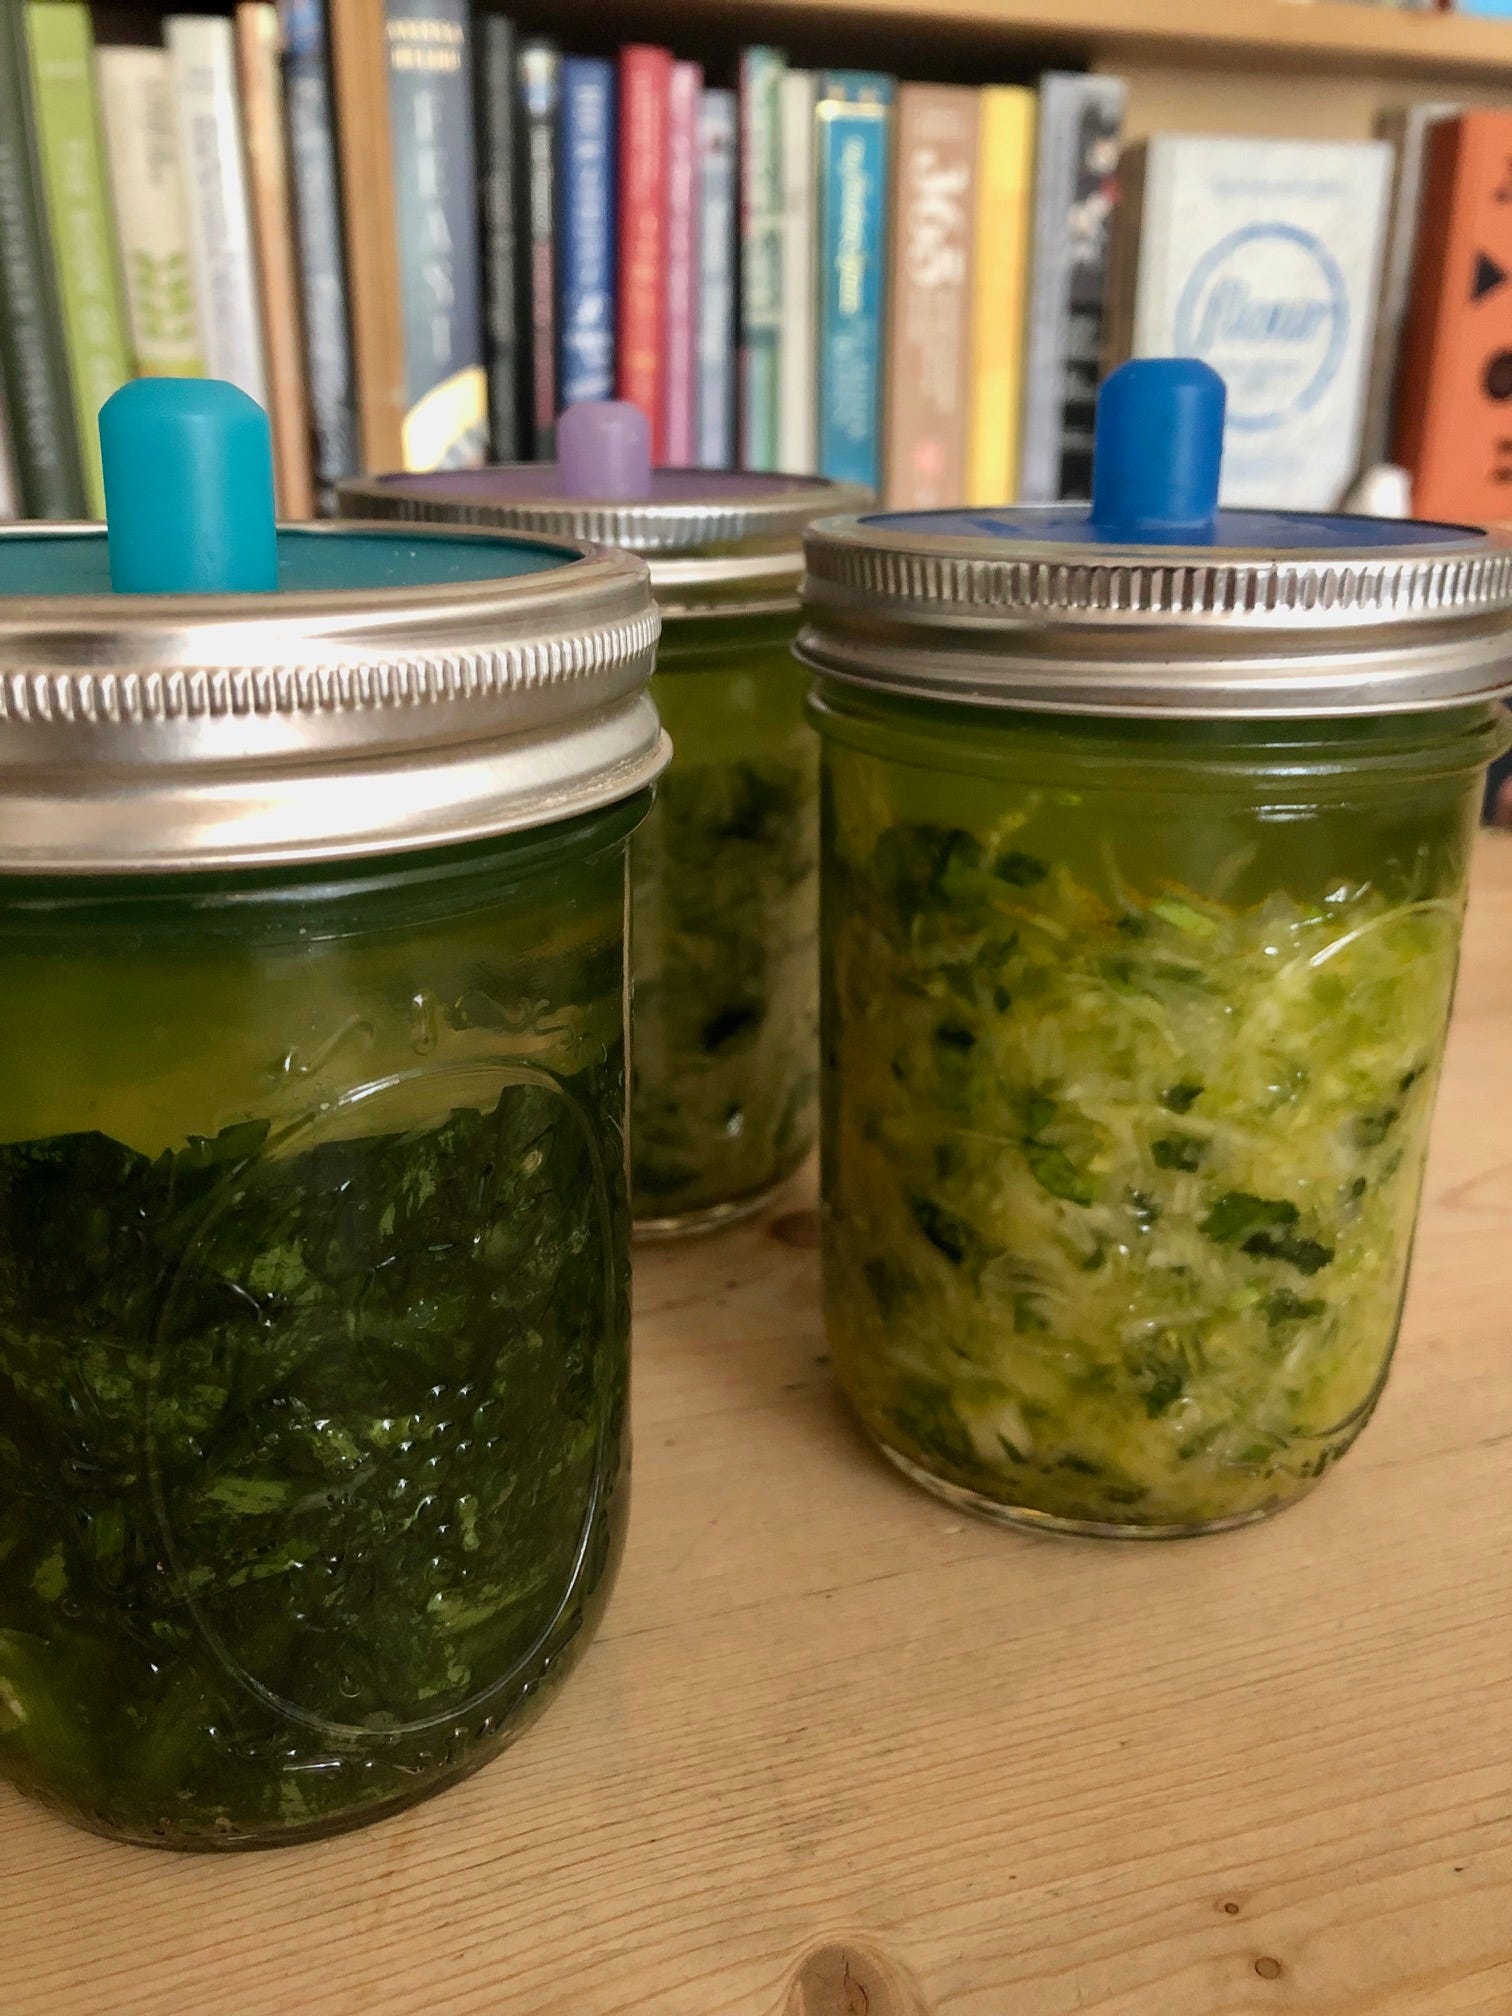
Finally for today, this isn’t a pressure cooker recipe obviously….but if you want to make your own wild garlic ferment, I have the method in my Leaf book. But just quickly….thoroughly wash and dry the wild garlic. I do this in filtered/spring water or tap water I have left over night so the chlorine dissipates - chlorine is not your friend when it comes to fermenting. Put in a bowl and sprinkle over a teaspoon of sea salt. Rub the salt into the wild garlic, massaging with your hands - it should very quickly start to give out liquid. You will see droplets appear first, then will it will get quite wet. Pile into a sterilised jar, making sure there are no air pockets. The water released by the wild garlic should come over the top of it - if it doesn’t, add just enough spring water to cover. Way it down with something - I use glass rounds bought for the purpose, but a small ramekin might work, or a clean stone. Some people use a plastic bag filled with water but I avoid that. Put the lid on and leave somewhere cool and dark to ferment, making sure that if you don’t have an especially adapted lid which will let out the gas, that you remember to loosen once a day. After a day or two, you will see little bubbles start to appear, then it is up to you how long you ferment it for. I usually do 5-7 days, then transfer to the fridge. It will continue to ferment in the fridge but very slowly. If you want to eke out your wild garlic, you can mix it with other greens and proceed in exactly the same way - the flavour will permeate.
"Then I change the water, add another tsp salt and a tablespoon of water and any aromatics" - should that be tablespoonful of oil? Sounds like there is already water in there.
Deliciously scrummy! Thank you.